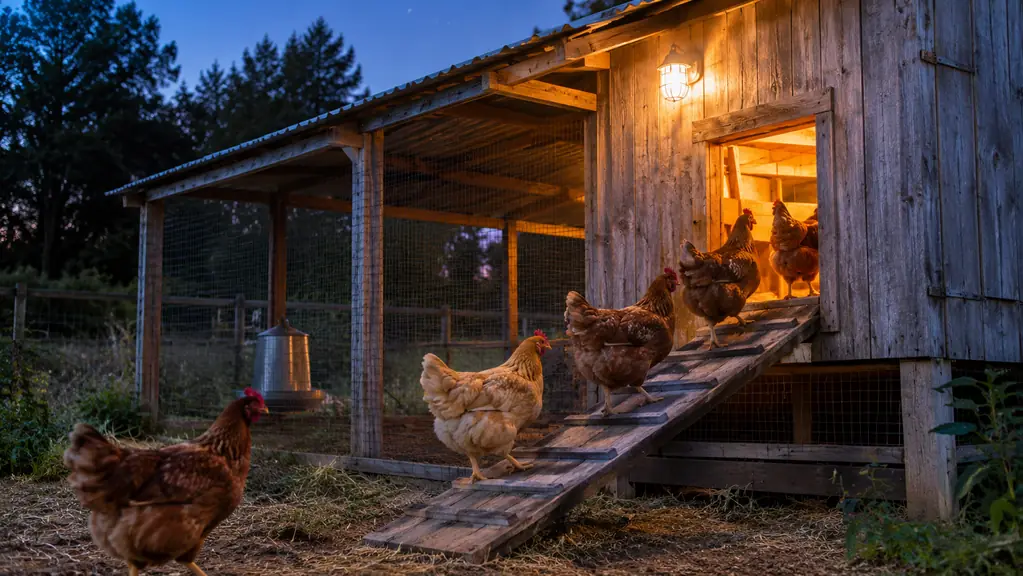
I shut my hens in by hand for five years, and for five years I told myself that was just the cost of keeping chickens. Boots on at dusk, flashlight in one hand, latch in the other. Twenty minutes on a good night. Forty on a bad one, when a hen had decided the top of the nest box was a fine place to sleep and I had to talk her down like a teenager who would not come to the table.
Then came a September evening in 2024 when Ron and I were late getting home. The pop door on my walk-in coop was standing wide open at full dark, and a fox had already been through it. I had sixteen hens that night and fourteen the next morning. That is the short version of why I bought the NyPots automatic chicken coop door, screwed it to the same pop door a week later, and have not lost a bird to a predator since.
A door that shuts whether or not you beat the sunset
The NyPots runs off its own solar panel and closes the pop door on a light sensor or on a timer you set. It mounts to the door you already have, using the screwdriver and the eight screws that come in the box.
Amazon Check Today's Price on Amazon →What follows is the order I did it in, cleaned up. Two of these steps I got wrong the first time, and one of those mistakes cost me an afternoon on a ladder in the heat, so I will save you that part.
Step 1: Measure the opening your hens actually walk through
Do this before you order anything, with a tape measure, not with your memory. The NyPots lists its entrance at 8.2 inches wide and 9.6 inches high when the door is open, with a gap size of 8.2 inches. My pop door opening was a hair over 10 inches wide and 12 inches tall, which left solid wood on all four sides for the frame to sit flat against. If your opening is a good deal bigger than that, plan on adding a wood surround before you mount anything.
While you are crouched down there, weigh the biggest bird in your flock against the listing. It is rated for poultry under 10 pounds. My Buff Orpingtons are the heaviest girls in my pen and they are nowhere near that, but if you keep a big breed or you are running ducks, put one on a feed scale and know the number before you buy. It is a lot easier to check that now than to watch a duck get herself stuck halfway through in November.
Then look at the wood itself. If the framing around your pop door is soft, split or full of old staple holes, fix that first. A door screwed to rotten pine will work fine for a month and then start to bind, and you will blame the door when it was the board.
One more thing worth doing, and it costs you nothing but one evening. Stand out by the run at dusk before you order and watch which way your hens come in. Mine come in from the east side of the run, single file, right at the base of the ramp. That told me where the door needed to sit and how much clearance to leave, and it told me that a hen leaving it to the last minute is going to be the same hen every night.
Step 2: Mount the frame square, then test it by hand
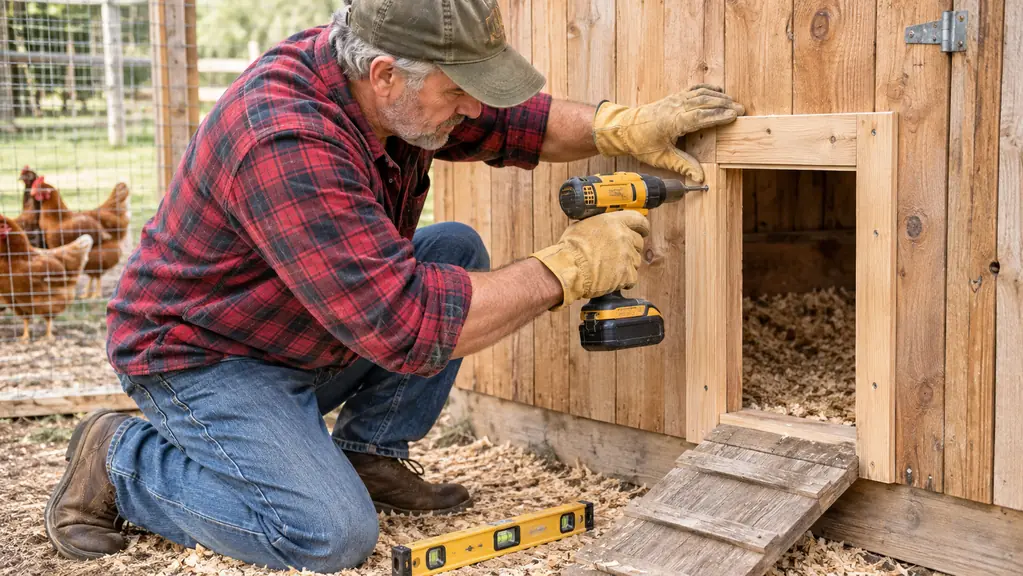
The box holds the door unit, a solar panel, a charging cable, a screwdriver and eight screws. That is honestly all you need besides a level and something to stand on. Ron held the unit square against the coop wall while I drove the screws, which took about fifteen minutes, and I would not want to do it alone on a windy day with the hens underfoot giving opinions.
Set the bottom of the frame just clear of the sill so the door is not dragging through pine shavings. Once it is fastened, work the door open and shut by hand a few times and feel for a catch. It should move freely. If it does not, back the screws off a half turn, shim the low corner and retighten. This is the step I hurried the first time, and the pinched corner I created had me back out there with a ladder and a bad attitude.
Do not walk away yet. Cycle it three or four times while you stand there, watch that the panel clears the frame on both sides, and put your hand where a hen would stand to make sure she has room. Then leave it open for the rest of the day. New hardware hanging over the only door they have makes hens nervous, and a few hours of walking under it fixes that before the first night.
Step 3: Put the solar panel where the sun actually lands
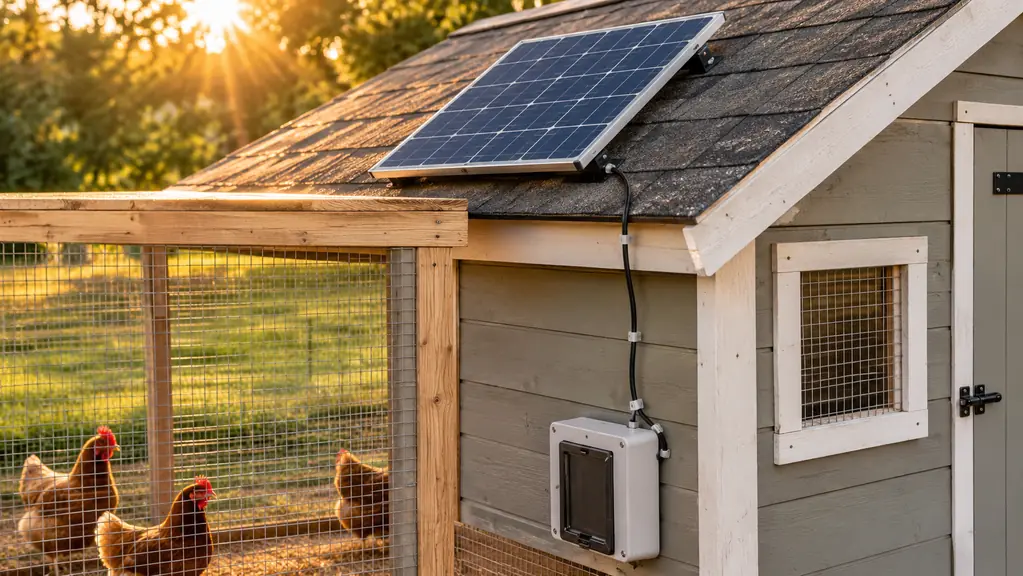
The panel is the whole reason this door does not need a cord run across the yard, so where it goes matters more than it looks. I set mine on the shaded end of the coop roof first, under the run cover, because that was the easy place to climb to. It ran the door fine for about three weeks and then got sluggish on gray days. Moving it to the south-facing slope of the roof ended that entirely.
Run the charging cable from the panel down to the unit and keep the slack off the ground. A hen will peck a cable out of pure curiosity, and if you have goats anywhere near that wall, they will chew it just to see what happens. Zip ties and a couple of fence staples take care of it in five minutes. The cable in the box is the one I used.
One honest note. In a long stretch of heavy January cloud, mine needed topping up. I ran the charging cable to the panel and left it for a day and it was fine. That is not a flaw in the door. That is what solar power means in North Carolina in January, and knowing it ahead of time keeps you from standing in the dark in your bathrobe wondering why the door is running late.
Point the panel so you can see it from the house, too. Mine is visible from the kitchen window now, and on a nasty afternoon I can glance out and see whether it is doing its job without putting boots on.
Sixteen hens the night the fox came through. Fourteen the next morning. Not one lost since the NyPots went on that pop door in September 2024.
Step 4: Start on light sensor mode, then switch to the timer for winter
Out of the box I put it on light sensor mode, which is the set-and-forget setting. It opens with the light and closes with the dark, and from September through November it tracked my flock's own schedule close enough that I never touched it once.
Then came the cloudy mornings in January. On a dark, wet morning the door opened late, sometimes an hour late, and I had fourteen hens pacing and squawking inside the coop at seven in the morning with the whole neighborhood listening. That is when I switched to timer mode for a few weeks and set the two times myself. There is also a T-T mode that runs a set schedule without watching the light at all, so for example you set open at 07:00 and close at 07:00 and it follows that. Once you understand it, you are about sixty seconds from a setting that suits your mornings.
Manual mode is the one I use when I am scraping the dropping board or replacing shavings and I do not want the door cycling behind me. It holds where you put it, and you set it back when you are finished. Nothing complicated about it.
Whichever mode you land on, plan to revisit it three or four times a year. Daylight shifts by a lot between June and December and your close time should shift with it. I do mine the same weekend I change the clocks, which is the only way I remember.
Step 5: Count heads at dusk for the first two weeks, then keep counting
Hens put themselves to bed. That is what makes an automatic door work at all, and it is also the part that surprised me least after five years of keeping them. For the first two weeks after I mounted the NyPots I went out at dusk anyway, stood by the run and watched them file in. Same order every night, and the door shut behind them.
What I was really watching for was the straggler. A hen on the wrong side of the door at closing time is the only real failure this setup has, and it does not happen because the door is broken. It happens because one bird got distracted scratching under the feeder. So I count. Fourteen at dusk, fourteen in the morning. It takes ninety seconds and it is the cheapest insurance on this property.
If you do find one locked out, put the door on manual, let her in, and reset it. Then look at why. Mine was a hen that liked to work the ground under the feeder last. I started tossing the last of the scratch inside the coop in the late afternoon, and she has not been late since.
Do not skip the count because the door has been reliable. I trust mine. I still count. Those are two different things, and the evening a fox tests the difference is not the evening you want to find out you were wrong.
What Else Helps
The door is the last line of defense, not the only one. The same week I mounted it, I walked the run with a flashlight and found where something had been digging at the northeast corner. I ran a line of pavers along the bottom of the wire and buried an apron. A door that shuts at dusk does nothing about a hole in the fence at midnight.
Feed matters more than people expect. My RentACoop four-port feeder sits on its stand in the center of the coop floor, and the sliding covers go over the ports at night. Before that feeder, spilled pellets were drawing rats and wild birds, and rats and wild birds draw things with teeth. Cutting the spill cut the traffic, and cutting the traffic is half of predator control.
Water works the same way for your own schedule. The Harris Farms 6.25 gallon drinker sits on two stacked cinder blocks in the covered run so the litter stays out of the trough. I refill it from the top with a hose about every four days in summer, and I am not carrying a small waterer out twice a day anymore. That change alone is why I am at the coop at dusk in the first place, which is why the head count actually happens.
The goat shed gets the same lap at the same time. Hazel, Pepper and Clover go in on their own, and I latch the shed behind them. Ron and I do the whole place in one walk now: hens, goats, dog. About fifteen minutes, start to finish, instead of the forty I used to spend chasing one stubborn hen around a run with a flashlight in my teeth.
Set it once and stop planning your evenings around a latch
The NyPots mounts to the pop door you already have, runs off its own solar panel, and closes on a light sensor or on the timer you set. The head count is still yours to do. The late-night trip outside is not.
Amazon Check Today's Price on Amazon →