
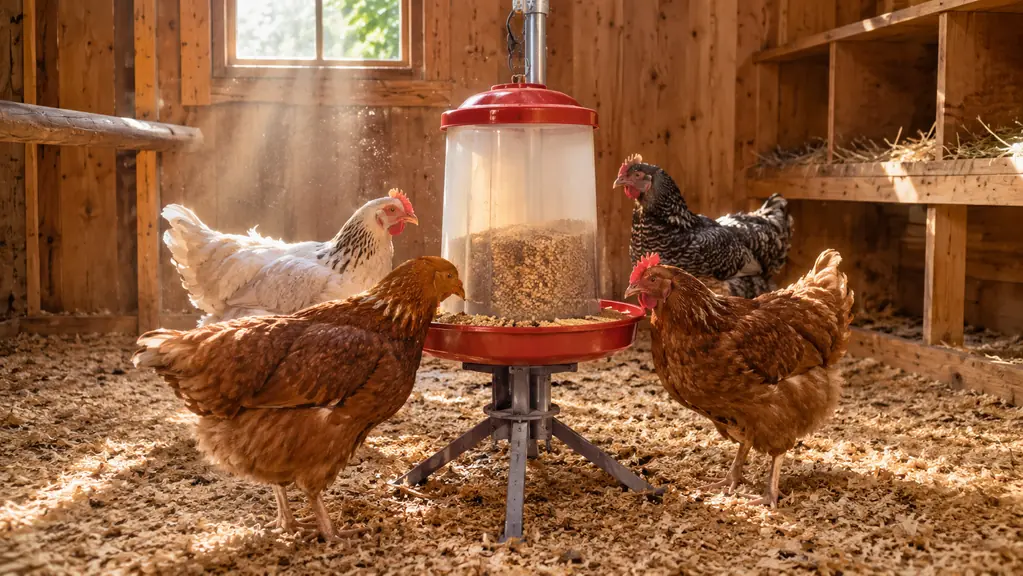
Open your coop on a Tuesday morning and look at the floor around the feeder. If there is a ring of crumbles ground into the litter, hens scratching through it, and a few sparrows working the edges of the run, you are not feeding your flock. You are feeding your flock, the local bird population, and whatever walks in after dark. I ran it that way for three years before I did anything about it.
What finally got me moving was a plywood sheet. In May 2024 I slid a square of it under the old trough feeder and swept the sweepings into a coffee can every evening for a week, then weighed it on the kitchen scale while Ron stood there asking whether I had lost my mind. Half a can a day, give or take. With fourteen hens going through a 25 lb bag a week, that is most of a bag a month landing in the litter instead of in eggs.
So I replaced the trough with the RentACoop 25lb Chicken Feeder, the four port model, and set it on its adjustable stand in the center of the coop floor. The scatter dropped off inside a week. What follows is the exact order I did things in, including the parts I got wrong, so you can skip the plywood experiment and go straight to the fix.
Stop Buying Feed for the Birds That Don't Lay
The RentACoop 25lb Chicken Feeder has four large ports with sliding covers, a lid with a handle, an anti-roost cone, and an adjustable stand. Fourteen hens, one fill a week, and a coop floor that stays where the feed belongs.
Amazon Check Today's Price on Amazon →Step 1: Measure What You're Actually Losing
Before you buy anything, watch your feeder for one full week. Not the hens. The feeder. Where does the feed end up? Mine was scattered in a two foot circle around the trough, plus a strip along the wall where the lowest hen got pushed while she ate. That pattern is the diagnosis. It tells you which problem you have.
The first cause is open access. In a trough or a tray, a hen can plant her feet in the feed and rake it backward. She is not being wasteful on purpose. Chickens are built to scratch and sort, and a wide open dish lets them do both at once. The second cause is company. Wild birds and rodents are the quietest line item on any feed bill, and they always arrive before you notice them.
For the second week I left the plywood down and wrote the running count on the coop wall in pencil, which Ron found funny right up until I added it up for him. Sunday to Saturday came to a little over three and a half cans. The strip along the wall was the interesting part. It was not random scatter. It was one bird's worth of feed, every day, in the same place, because a Buff Orpington at the bottom of the order was eating with her back to the room and getting knocked sideways every time another hen walked past her.
The third cause is moisture, and it is the one that costs you twice. Feed that sits on the ground overnight pulls damp out of the litter, clumps up, and gets kicked aside by the next hen through. If you find clumped pellets in the morning, that is not spoilage waiting to happen. That is spoilage that already happened while you were asleep.
Write the number down if you do the plywood test. It is hard to keep spending on a problem once you know it runs you a can a day. It is also the number you will compare against a new feeder, and that comparison is usually not close.
Step 2: Match the Feeder to Your Flock and Your Coop
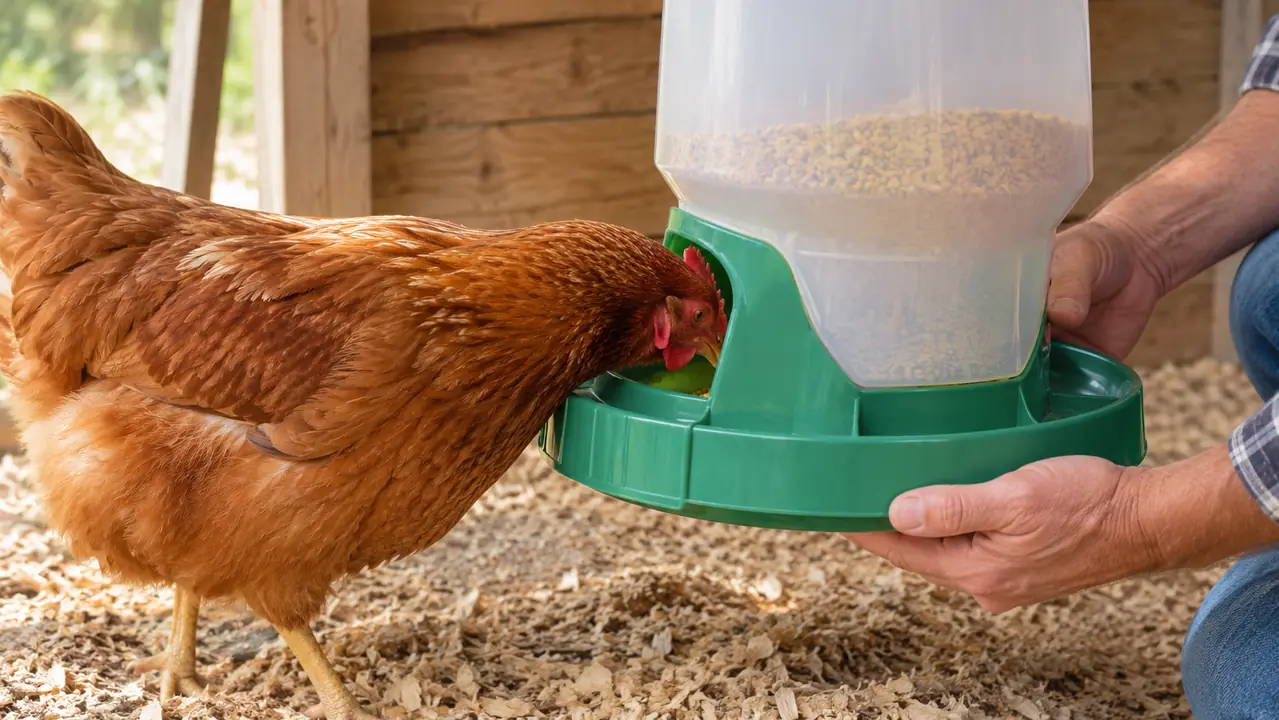
Count your hens and be honest about the pecking order. Four large ports carry my fourteen hens with room to spare, and that matters more than people expect. A low bird that has to stand and wait gets pushed off and goes back to scratching in the litter, and now she is both hungry and wasting feed. The ports on the RentACoop feeder are wide enough that a full grown hen gets her head in comfortably and eats without a fight.
The second decision is capacity and footprint. Twenty five pounds means I fill about once a week for fourteen hens, which suits how I do chores. It is freestanding, so nothing has to be hung from a rafter. My coop has a light, a cord, and a solar panel bracket up top, and no convenient place to hang anything heavy, which is why I did not go with a hanging feeder.
Measure your floor before you order, though. The feeder body runs about fourteen and a quarter inches by twelve inches and the whole thing weighs under three pounds, so it takes up less floor than a bale of shavings and I can lift it with one hand to sweep underneath. In a ten by twelve walk-in that footprint is nothing at all. In a small raised tractor it would be most of the floor, and there I would set it out in the covered run instead, where the square footage is not spoken for.
I want to be plain about what this feeder does and does not do, because I have read the optimistic versions. The four ports have sliding covers and I close them at night. The feeder does not close itself. It is not rat proof. If a rat can reach it, a rat will eat from it. What it actually does is stop the daily scatter and stop hens from standing in their own feed, and that turned out to be most of my problem.
Step 3: Set the Stand Height Before You Fill It
Assemble it on a flat surface and use the 13mm magnetic driver bit that comes in the box with an electric screwdriver. It is a few minutes of work. The stand has storage built into it for the bit, which I appreciate because I am the person who loses the bit.
Then set the height, and do not skip this. My rule is that the bottom of the feed ports should sit roughly level with a hen's back, so she stands flat footed and reaches in rather than up or down. Too low and she scratches feed out over the rim. Too high and she stretches and flicks it with her beak trying to get a grip. Watch one hen eat, adjust, watch another.
I fiddled with mine three separate times that first week. The stand as it came was a touch low for my biggest Buff Orpington, who was raking pellets out over the lip with her feet while she ate, so I raised the stand and watched her again that same evening. The difference was immediate and mildly insulting. Same feeder, same feed, same bird, and an inch and a half of height was the whole difference between a mess on the floor and a clean floor at lock-up.
Put it in the center of the coop floor. Not against a wall, and not under the roost. Center placement means there is no corner pocket to trap spilled feed and no hen able to guard one side of it. The anti-roost cone goes on top so nobody perches over the feed and leaves you a present, and it does what it says it does.
Step 4: Fill It, Then Show the Hens the Ports
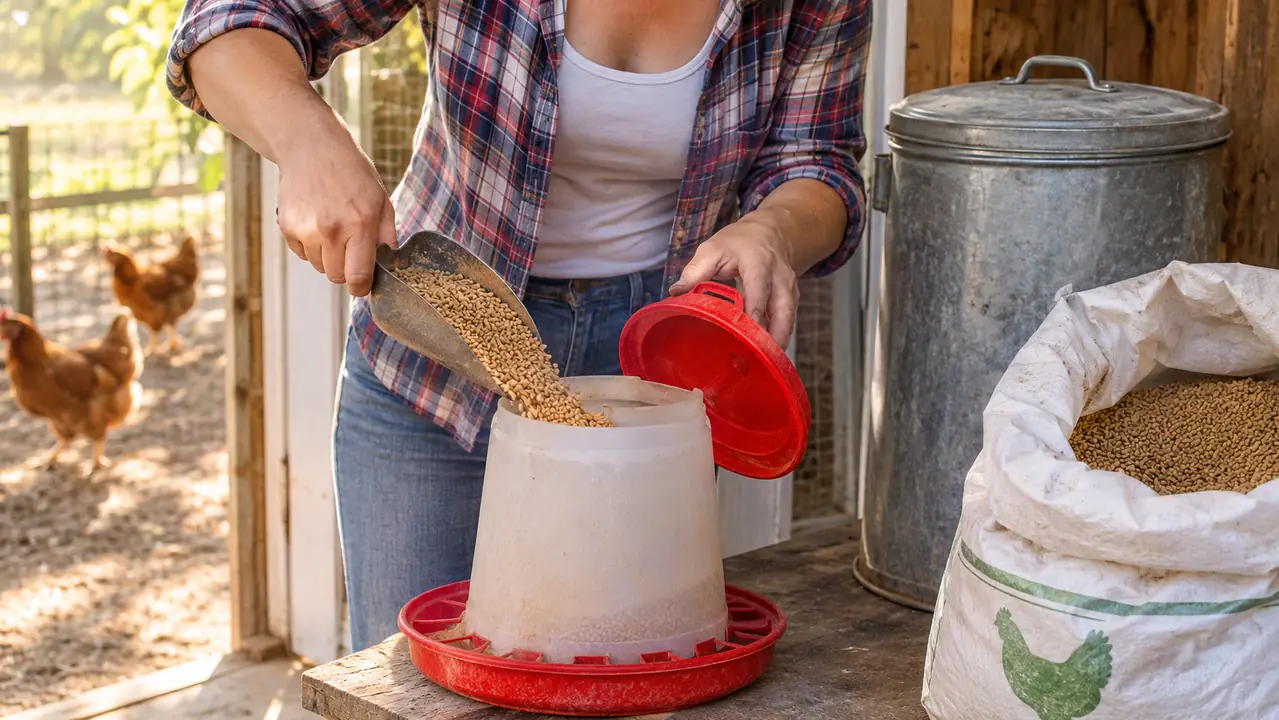
Fill through the lid, set the lid back on with the handle up, and then leave the feeder alone for a day. The first two days are not about the feeder. They are about the hens deciding the feeder is real and not a new object to be suspicious of.
On day one I scattered a small handful of pellets right at the port openings so the hens had a reason to put their heads in. My Barred Rocks had it sorted in about an hour. The Easter Eggers took three days and a good deal of suspicious circling from a distance. That is normal. It is not a sign that the feeder is wrong for your birds, it is a sign that you have Easter Eggers.
Here is the mistake I made, and I still catch myself doing it. I topped the feeder off every single morning. It feels attentive. It is not. Keep enough feed in it that the lowest hen can reach, and otherwise let the level drop through the week. One refill a week, lid on, and the sack goes into a metal can instead of sitting open on the floor.
Step 5: Build a Two Minute Evening Routine
When I shut the hens in at dusk, I slide the four port covers shut. It takes about twenty seconds. The point is not that the feeder locks anything out. The point is that overnight is when mice and wild birds do their work, and a closed port is one less open door in a coop full of them.
On a wet evening in February I got lazy and left the covers open two nights running. Nothing dramatic happened, which is how bad habits survive. The next morning there were droppings on the rim of one port and a scatter of pellets on the litter underneath it, and I spent ten minutes with a scoop and a rag fixing what twenty seconds would have prevented. That was the end of the shortcut. The covers go shut at lock-up now whether I am tired or not, and it has been months since I found anything on that rim.
Once a week, before I refill, I look inside. Dry, free flowing pellets, and I move on. Clumps, fine dust, or a sour smell and it gets dumped, rinsed, and dried in the sun before anything goes back in. A real scrub with a brush and a vinegar rinse happens about once a month, which is the same schedule I use on the drinker.
Then I look at the floor around it. Feeder in the center, drinker over on its blocks on the other side of the coop, scratch grain fed in a shallow pan and cleaned up after. Feed dry, litter dry. That combination is the whole game, and it takes less time each evening than filling a trough did twice a day.
Half a coffee can of pellets a day, for a year, is most of a bag a month I was shoveling out with the litter.
What Else Helps
The feeder fixed most of my problem. It did not fix all of it, because waste is partly a feeder problem and partly a storage and habit problem. The rest of my list is short and cheap. Store feed in a metal can with a lid. I left a paper sack on the coop floor for one winter and I will not do that again. Feed on the ground draws rodents, rodents draw everything else, and once mice are established in a coop they become a project instead of a chore.
Do not throw scratch on the ground. Use a pan, or skip it. Keep the drinker on blocks so spilled water cannot wick sideways into the feed. Do not overfill the feeder to the very top out of a sense of duty, because a full feeder pushes feed forward at the ports. And do a head count and a short walk through the coop at dusk, which costs nothing and catches small problems while they are still small.
One more thing, and I say it every chance I get. None of this replaces watching your birds. If a hen goes off her feed, stands hunched, or looks pale in the comb, that is not a feeding problem and it is not something you fix with a better feeder. Call your vet.
The Fix You Can Do This Weekend
You already know roughly where the feed is going. Set the stand height, fill it once, scatter a handful at the ports, and give the hens three days to catch on. The RentACoop feeder does the rest of the work from there.
Amazon See the RentACoop Feeder on Amazon →